Boat Deck Installation: Fitting
Start dry fitting your pieces at the center, working towards the margins (see Fig. 22). Lay the E-521 (2” Shiplap) with the black line away from the margin. You can also use the E-523 (6” Shiplap) when you are filling a large space. Both sizes will fit together nicely and you won’t be able to tell a difference when your deck is done. Feel free to combine them to suit your needs. If you are laying up to a king plank be sure to leave enough extra material at the center. If you are following the gunwale and the length is more than 32’, cut the adjoining piece close and plan on cutting out a ¼” gap later for a caulk line.
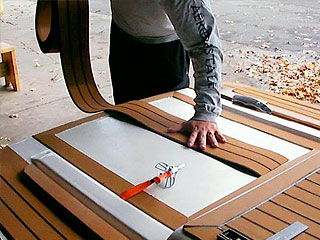
Fig. 22
When you have all the pieces cut and laid, and you are satisfied with the look, it’s time to take them up. You may want to number them on the underside to help you re-lay them in order. Stack the pieces neatly out of the way.
Clean and vacuum the bare deck. Wipe everything with denatured alcohol (see Fig. 23). The cleaner it is the better adhesion you will get. The shiplap design will fit together nicely, so long as the glue has not fully set up. Be sure you have time to finish one whole section. If you must stop in the middle, any glue not covered with decking must be COMPLETELY removed- otherwise the remaining decking pieces will not lay flat. It is suggested that you use the PT-2503 for the main body so that any glue that comes up through the seams blends in with the black stripes.
Until the decking is glued down, it will grow and shrink with temperature. You should plan on gluing down the pieces at about the same time of day as when you cut them, even if this means waiting until tomorrow. If you cut the pieces in the heat of the afternoon and try to glue them after dark you will find they are too short.
So now that your deck is clean and wiped down, you are ready to start gluing. Keep a cloth and the denatured alcohol handy. Dispense the glue onto the deck in a zigzag pattern about 6” to 8” wide and use the trowel to spread it to an even pattern (see Fig. 24) enough for 2 or 3 of the 2” strips (or one of the 6” strips). Set the glue and trowel somewhere safe.
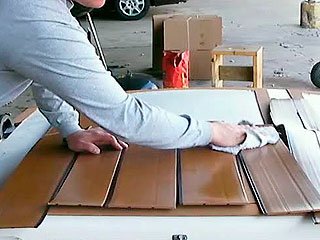
Fig. 23
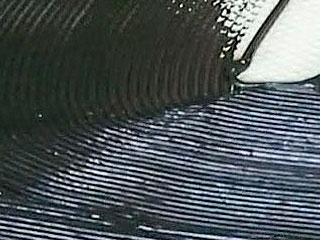
Fig. 24

Fig. 25
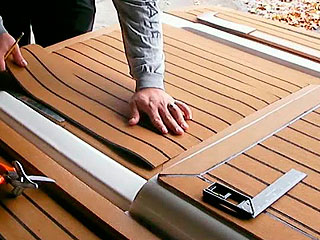
Fig. 26
Get your stack of pre-cut pieces. Re-lay your pieces in order, as you just had them during the dry fitting (see Fig. 25). Wipe the underside of the strips with the denatured alcohol as you go. Fit the shiplap together by lightly pushing down as you fit the edges together (see Fig. 26). This will push a little bit of glue into the seams which will help seal the deck. Make sure the shiplap has a nice tight fit (see Fig. 27).
Finish laying your pieces until your section of deck is covered. Clean up any glue that has come through the seams with the denatured alcohol. Roll over the deck with the floor roller using a firm, even pressure (see Fig. 28). If you notice that you are pushing a lot of glue out through the seams, you may want to spread the glue thinner on the next section.
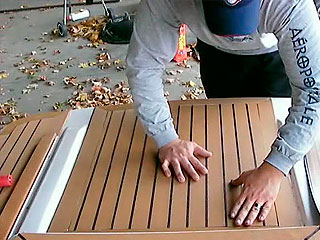
Fig. 27

Fig. 28